.svg)
How to create an interactive PowerPoint
An interactive PowerPoint turns a linear presentation into a dynamic experience where the user controls navigation. With hypertext links, clickable buttons, animation triggers, and interactive areas, the presenter or audience can choose the path through the content. This approach is particularly effective for training, product demonstrations, and standalone presentations where active engagement enhances understanding.
.svg)


Why interactive PowerPoint presentations work

We've designed interactive PowerPoints for 3,000+ clients over the past 13 years — including Microsoft, Uber, Cartier, FDJ, and Astorg. When we convert a static deck into an interactive one, the pattern is consistent: meetings run longer, clients ask more questions, and win rates go up. On one recent rebuild for a consulting firm, those numbers were 85% longer meetings, 60% more client questions, and 25% higher proposal win rates (full case study below).
This guide is how to build one yourself in PowerPoint — navigation, triggers, quizzes, professional use cases, the tools we actually use with clients, and how to measure whether the interactivity is earning its design cost. We've also included an honest take on when DIY makes sense versus when to bring in an agency.
Definition and Key Elements
Definition: An interactive PowerPoint is a presentation that lets users navigate freely between slides and activate elements on demand, rather than following a predefined order.
Interactivity has three components: non-linear navigation, action triggers, and user control. Viewers choose what to explore and in what order, rather than watching a fixed sequence. 
Difference with Linear Slideshow
| Criterion | Linear slideshow | Interactive PowerPoint |
|---|---|---|
| Navigation | Sequential (slide 1 → 2 → 3) | Non-linear (direct access) |
| Control | Presenter only | Presenter + audience |
| Fixed duration | Yes | No (variable path) |
| Audience adaptation | Limited | High |
Interactive works best for training, product catalogs, interactive FAQs, and technical demonstrations. For chronological sales pitches and company storytelling, linear is stronger.
Case Study: Converting a Static Deck to Interactive
A consulting firm came to us with a 30-minute capability deck that kept losing clients mid-meeting, particularly on virtual calls. The format was strictly linear — services, then case studies, then team bios, then pricing, always in the same order.
We rebuilt it as an interactive deck. The main changes:
- Main menu: clients choose which topics to open, in what order
- Service descriptions: clickable hotspots reveal detailed case studies and methodology
- Team bios: expandable profiles for each relevant team member — clients skip to who matters for their project
- Pricing: toggleable service options, with cost updating live as the client builds their own proposal
Results measured across six months of client meetings:
- Meeting duration up 85% — clients stayed to explore instead of looking for the exit
- Client questions up 60% — more back-and-forth during the pitch itself
- Win rate up 25% compared to the static version
The fix wasn't about adding more content — it was putting the client in the driver's seat. Three things made it work: clean visual design despite the added functionality, intuitive navigation the client could use without instructions, and a sales team trained to facilitate an interactive session rather than narrate a linear one.
Creating Interactive Navigation
Main Menu and Hyperlinks
The main menu is where viewers start. A visual grid of clickable icons works best.
To build the menu:

1. Create a menu slide positioned right after the title slide
2. Insert > Shapes — create rectangles for each section (4-6 sections maximum)
3. Add a title + icon in each rectangle (24pt font for titles)
4. Right-click > Hyperlink on each rectangle
5. Choose "Place in This Document" and select the destination slide
6. Customize the tooltip with a clear description
| Menu element | Content | Recommended format |
|---|---|---|
| Section title | 2-4 words | 24pt font, bold |
| Icon | Representative visual | 80x80 pixels minimum |
| Description | 10-15 words | 14pt font, regular |
| Clickable area | Transparent rectangle | Covers title + icon + description |

Permanent Navigation Buttons
Put identical navigation buttons on every slide so viewers always know where they are.
- Home (top left) — return to main menu
- Back (bottom left) — previous context
- Previous / Next (bottom center) — sequential navigation within a section
Create the buttons once (rounded rectangle, 120x40 pixels minimum, brand color), hyperlink each to its destination, then copy them to every slide in identical positions. The "Back" button requires manual programming per context — duplicate the template slide and modify only the back-button destination.
Three-Level Structure
A good interactive deck has three navigation levels:
- Level 1 — Main menu: 5-8 major thematic sections with direct access
- Level 2 — Sub-menus: 3-6 sub-sections per theme with internal navigation
- Level 3 — Detailed content: slides with contextual buttons (previous, next, back)
Triggers and Interactive Animations
Animation Trigger Configuration
Triggers launch animations when a user clicks a specific slide object.
Definition: An animation trigger is an action that launches one or more animations when a user clicks a specific slide object.
Step-by-step configuration:
1. Create the animation on the target object: Animations > Add Animation (Appear, Wipe, etc.)
2. Open the Animation Pane: Animations > Animation Pane
3. Right-click the animation in the pane > Timing
4. Select "Trigger" > Start effect when clicking on
5. Choose the trigger object from the list
Interactive Quizzes with Feedback
A quiz turns a slide into an assessment with instant feedback on each answer.
Quiz slide structure:

1. Question — clear statement at the top (28pt font minimum)
2. Answers — 3-4 identical rectangular buttons
3. Feedback zones — validation and error indicators, initially hidden
4. Explanation — text zone that appears after the click
For correct answers: create a green validation icon and "Correct" text (initially off slide), then configure an Appear animation triggered by the click on the correct-answer button. Add an explanation zone that appears simultaneously.
For incorrect answers: create a red error icon and "Incorrect" text (initially hidden), then configure an Appear animation on click. Optionally link to an explanatory slide.

Disable automatic advance on click for quiz slides (Transitions > uncheck "On Mouse Click"). Users need to click on answers without advancing the presentation.
Progressive Content Revelation
Revealing content step by step keeps attention focused and prevents overload.
| Method | Complexity | Best for |
|---|---|---|
| Layered overlays | Low | Technical diagrams |
| Masked zones | Medium | Infographics |
| Sequential appearance | High | Step-by-step processes |
Masked zones technique (quick method): create the complete content on the slide, draw rectangles in the background color over zones to mask, configure fade animations on each rectangle, then define triggers — a click on "Next" or an info icon makes the mask disappear.
Professional Use Cases

Training and Autonomous E-learning
Interactive PowerPoints make training self-paced — learners pick modules and progress at their own level.
E-learning module structure:
- Home page with learning objectives and a training plan
- Independent modules accessible in any order
- Intermediate quizzes to validate understanding before progression
- Interactive glossary with alphabetical links
- Progress bar as a visual indicator on the menu
Adaptive Sales Presentations
Adjust your sales pitch live based on prospect reactions.
Recommended architecture:
- Main menu with 5-6 themes: Problem, Solution, Features, Client cases, Price, FAQ
- Contextual navigation during the meeting to sections of interest
- 3 depth levels: overview (always shown), technical details (if there's interest), specific use case (if the prospect is qualified)
- Content library at the end of the file: comparisons, sector pitch examples, advanced demos
This approach lets you keep 80-100 slides on hand but only show the 15-20 that match the meeting's context.
When to DIY vs Hire an Agency
After 13 years and 3,000+ decks, here's our honest read on which route to take.
You can DIY if all of these are true:
- It's an internal deck (training module, team all-hands, internal playbook) where an 8/10 execution is good enough
- Someone on your team is comfortable with PowerPoint's animation pane and has 15+ hours to invest
- Your navigation is simple — main menu plus a few sub-pages, no conditional paths
- You don't have a hard external deadline
Bring in an agency if any of these are true:
- The deck is going in front of investors, board members, C-suite, or prospects
- You need custom illustrations, data visualizations, or branded animations
- Navigation has 3+ levels or conditional paths
- You need it in under two weeks
- You want engagement or conversion measured and optimized after the first version ships
What it costs: an in-house build takes 2 to 3 times as long as a static deck of the same slide count, because of the navigation logic and animation programming. Agency pricing scales with slide count and complexity — use our cost calculator for a ballpark.
Tools and Add-ins for Enhanced Interactivity
PowerPoint's built-in features cover most interactive needs: hyperlinks, action buttons, animation triggers. Learn those first before adding third-party tools.

When you need more, here are the tools we use most with clients:
- Live polling and Q&A: Mentimeter, Slido, and Poll Everywhere all integrate with PowerPoint. We tend to use Mentimeter for training sessions and Slido for investor or board Q&A, but they're more similar than different in practice.
- Audience quizzes: Kahoot for gamified energy in training or conference settings, Nearpod when you need progression tracking per participant. Neither fits for C-suite presentations — it reads off-brand in that context.
- Alternative platforms: when PowerPoint's limits start to bite, move to Prezi (zoomable non-linear decks), Genially (web-first interactive decks with built-in analytics), or H5P (interactive content embedded in an LMS). Genially is our default recommendation when the client wants real analytics on engagement.
- Interactive PDF conversion: works for client handover but you lose animation triggers. If interactivity matters more than offline access, use Genially instead.
Pick based on context. For a live meeting with audience participation, start with a polling tool. For a self-paced training module, use H5P or Genially. For investor decks where you need fallback on any device, stick to PowerPoint's built-in features plus interactive PDF export as a backup.
Best Practices and Testing
Golden Rules of Clear Navigation
Permanent visibility: main navigation elements (Home, Back) must be present and positioned identically on every slide.
Maximum affordance: every clickable element has to look clickable. Use universal visual codes — relief buttons, cursor change on hover, link underlines.
Immediate feedback: every click produces a visible result within 0.5 seconds. Use fast entry animations (0.2-0.3s) instead of slow ones (1s+).
Standard placement convention:

- Top left: Home button (return to main menu)
- Top right: Help / instructions
- Bottom left: Back (previous context)
- Bottom center: Previous / Next (linear navigation)
- Bottom right: Contextual actions (Download, Print)
Testing Process
Navigation test: walk every possible path to verify each link lands where it should. Build a checklist of all buttons to test. Use PowerPoint keyboard shortcuts during the design phase to move faster.
Usability test: ask 3-5 novice users to complete specific tasks ("find pricing information", "answer the quiz in section 2"). Watch where they get stuck.
Error management: include a discreet Home button on every slide, including those not normally accessible directly. If a faulty link sends a viewer to an unexpected slide, they can always return to the main menu.
Multi-Platform Compatibility
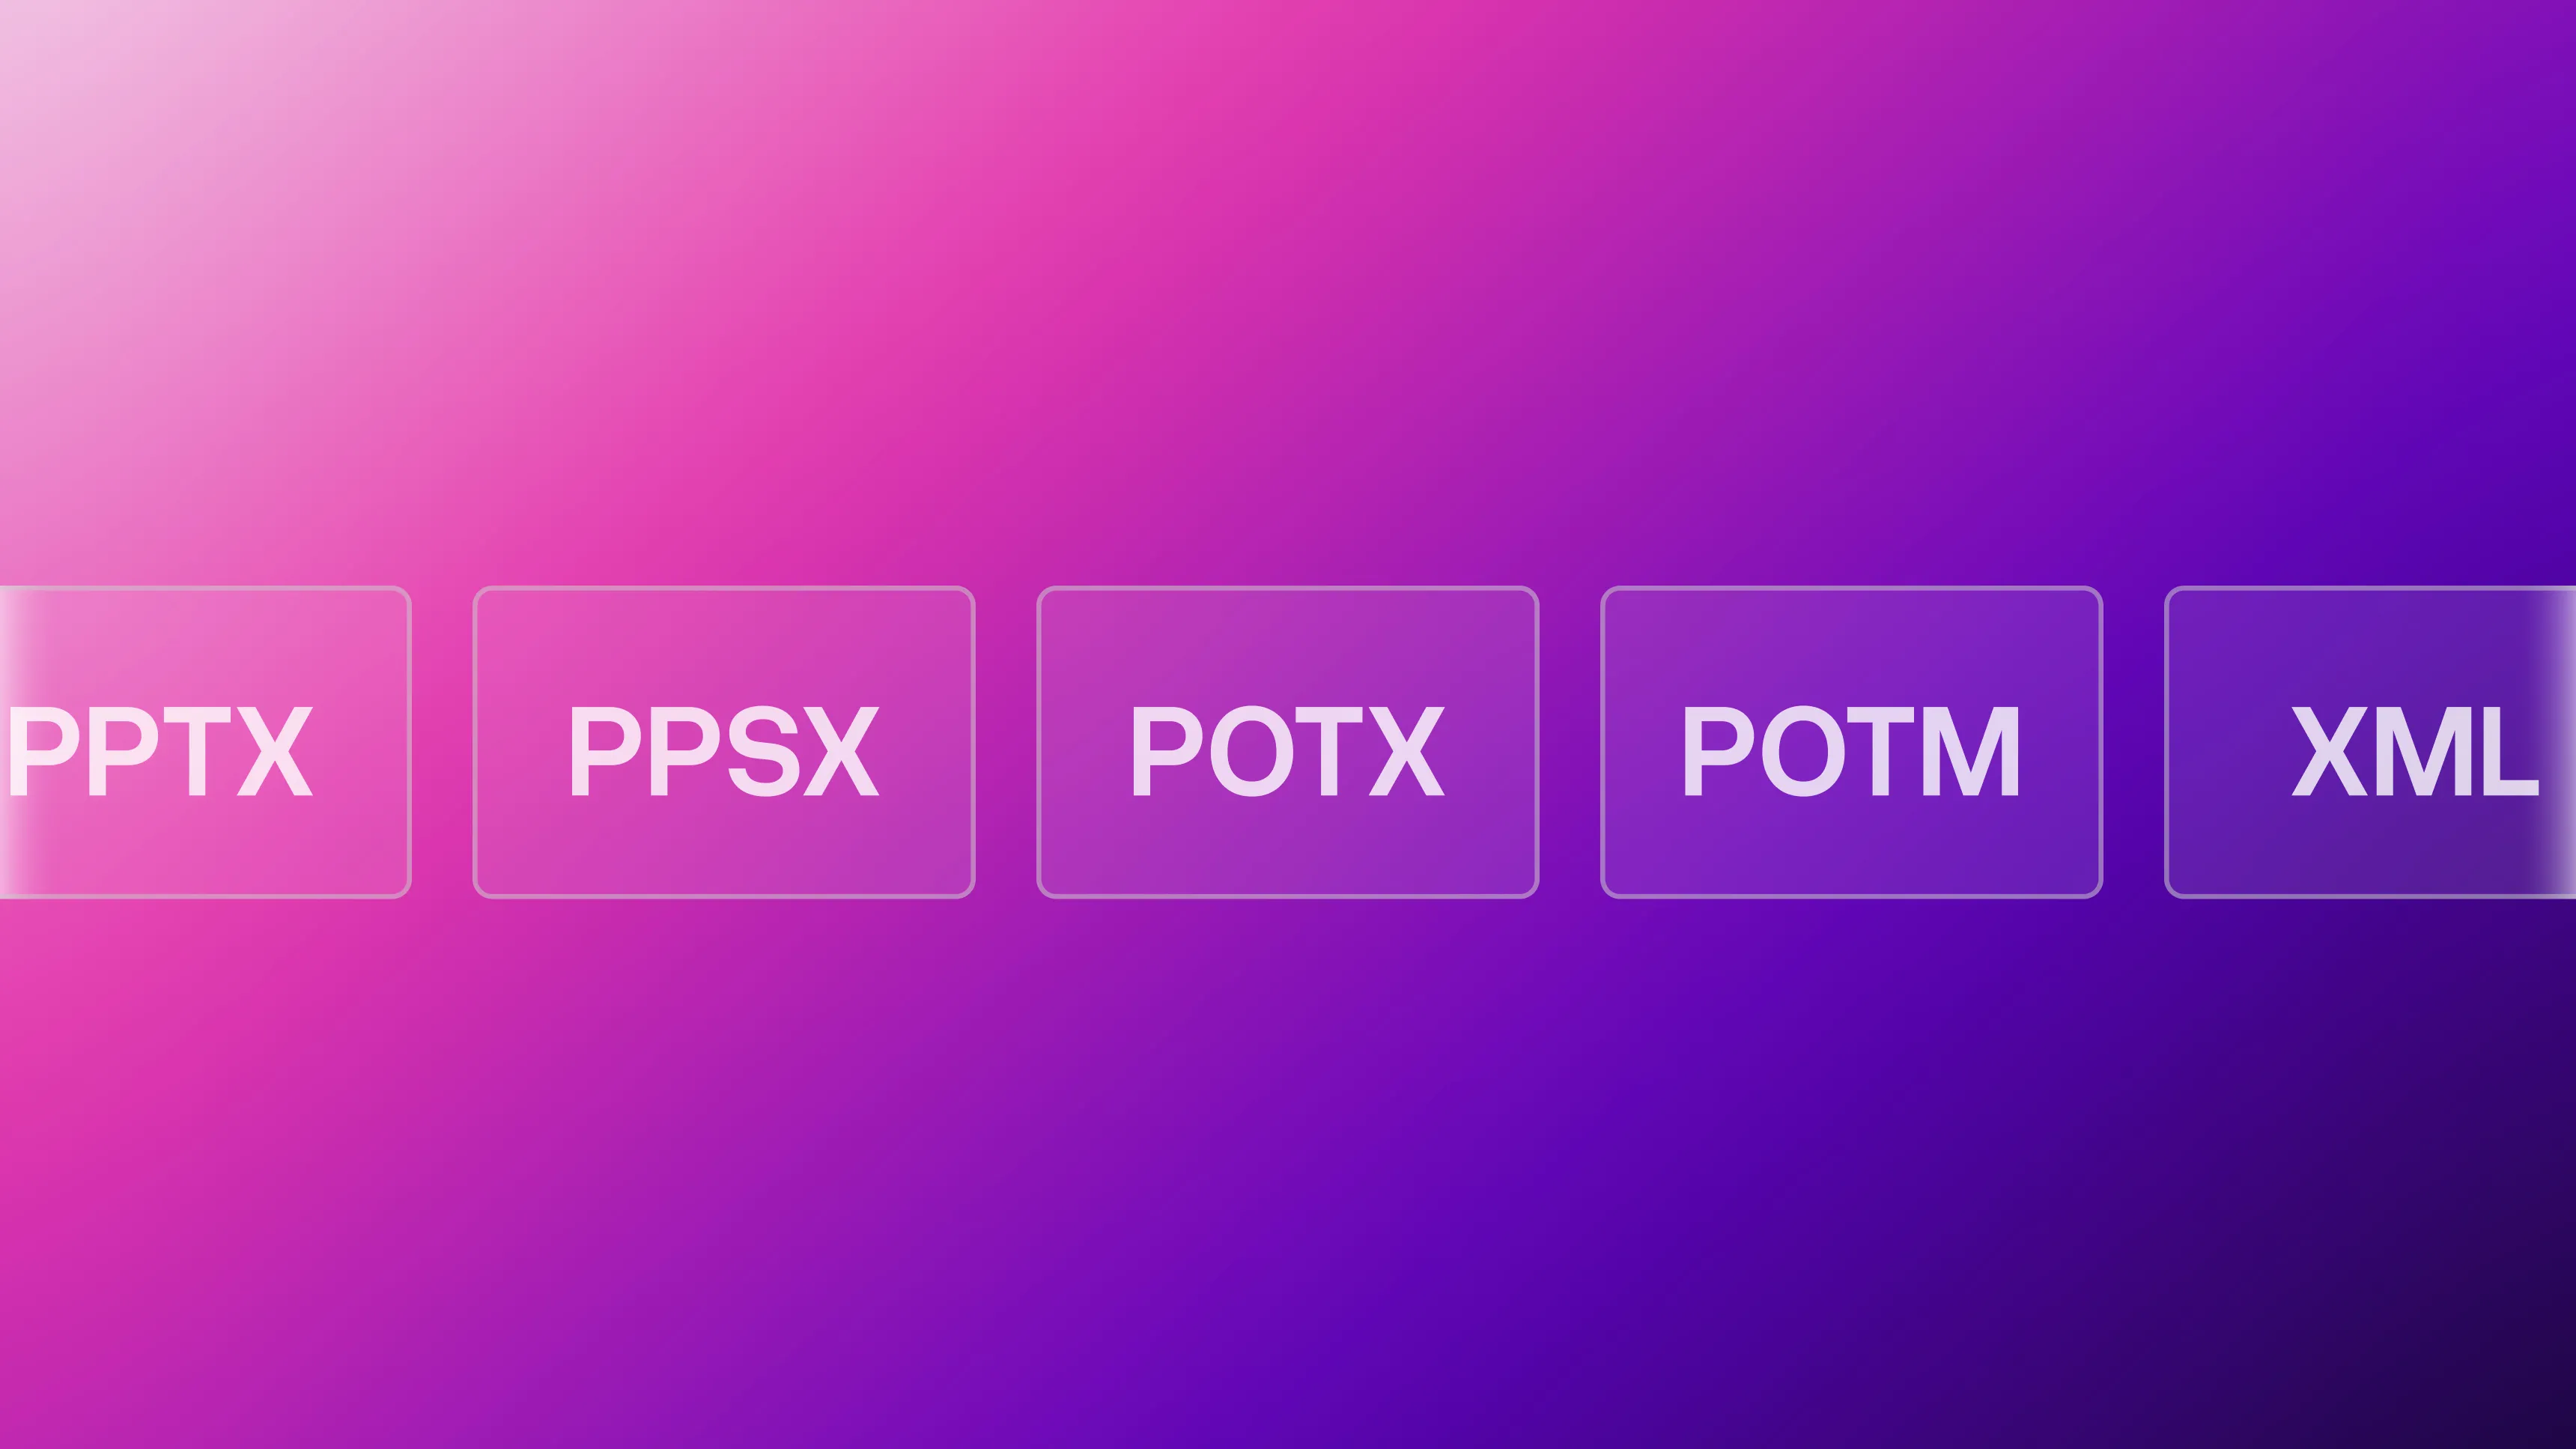
Interactive PowerPoints work fully on PowerPoint Windows and Mac. PowerPoint Online supports hyperlinks and action buttons but only partially supports advanced animation triggers. On iOS and Android, hyperlinks work but action buttons and animation triggers don't. PDF exports preserve only URL links — all action buttons and animations are lost.
For maximum compatibility across devices, build your interactivity on hyperlinks and action buttons rather than complex animation triggers.
Measuring Whether Interactivity Earns Its Cost
Track four things: completion rate (how many viewers finish the sequence), click-through pattern (which interactive elements get clicks vs ignored), time on slide, and return engagement (whether viewers come back). The simplest setup is a short feedback form on the last slide with 2-3 specific questions about which interactive elements were useful. For real analytics, convert the deck to Genially or H5P — PowerPoint itself doesn't track any of this.
Compare engagement between an interactive and a static version of similar content. If completion rate or retention doesn't move, the interactivity isn't earning its design cost — simplify or revert to linear.
Frequently Asked Questions
How much does a custom interactive PowerPoint cost?
An agency-built interactive PowerPoint typically costs 2 to 3 times what a static deck of the same slide count would cost, because of the navigation logic, animation programming, and extra testing. Pricing scales with the number of interactive elements (clickable hotspots, quizzes, conditional paths) and the complexity of the custom illustrations. Use our cost calculator for a range, or contact us for a quote.
How long does it take to build an interactive PowerPoint?
A 20-slide interactive deck takes an experienced designer about 2 to 3 times longer than a static equivalent, because each slide needs navigation logic, triggers, and testing across platforms. With a full agency team on it, expect 2 to 3 weeks from brief to final delivery for a standard interactive deck. A complex deck with 50+ slides or conditional paths typically takes 4 to 6 weeks.
Can I build an interactive PowerPoint myself or do I need an agency?
DIY works if the deck is internal, the navigation is simple (main menu plus a few sub-pages), and someone on your team has 15+ hours and is comfortable with PowerPoint's animation pane. Bring in an agency when the deck is going in front of investors, board members, C-suite, or prospects; when you need custom illustrations or data visualizations; when navigation has 3+ levels or conditional paths; or when you need it in under two weeks.